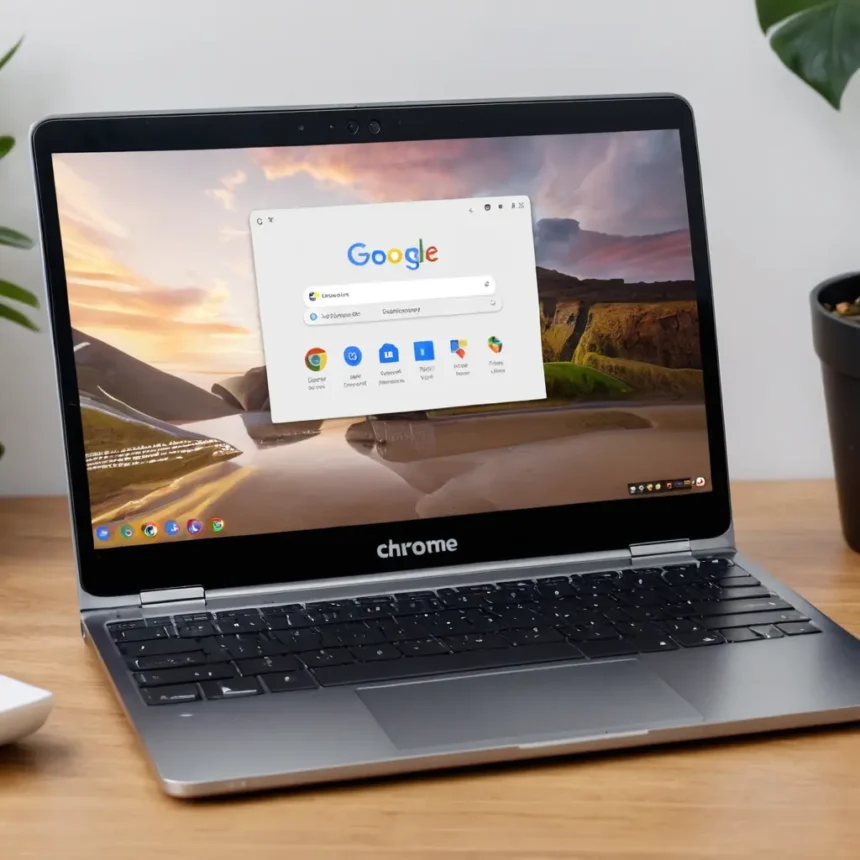
Taking a screenshot on a Chromebook is a simple yet essential skill for students, professionals, and everyday users. Whether you’re capturing an important document, sharing a project, or saving a webpage, knowing how to screenshot on Chromebook is a must. This guide will walk you through various methods to take screenshots quickly and efficiently.
Why Do You Need to Know How to Screenshot on Chromebook?
Screenshots can be a handy tool in many situations. From saving online resources to troubleshooting tech issues, they help you capture exactly what’s on your screen. The screenshot function on Chromebooks is quite versatile, offering several methods that cater to different needs. Whether you want to take a full-screen shot or a specific section of the screen, we’ve got you covered.
In this guide, we will explore:
- How to take a screenshot on Chromebook using keyboard shortcuts
- Tools for capturing specific areas
- Saving and editing your screenshots
- Additional tips for Chromebook users
How to Screenshot on Chromebook Using Keyboard Shortcuts
The easiest way to capture your screen on a Chromebook is through keyboard shortcuts. Here are the most common methods:
1. Full-Screen Screenshot
To take a screenshot of your entire screen:
- Press Ctrl + Show Windows. The “Show Windows” key is typically found above the number row and looks like a rectangle with two vertical lines.
- After pressing the keys, your Chromebook will automatically capture the entire screen and save it.
2. Partial Screenshot
Sometimes, you may want to capture only a portion of the screen. For that:
- Press Ctrl + Shift + Show Windows.
- Your cursor will change into a crosshair, allowing you to click and drag over the area you want to capture.
- Once you’ve selected the area, the screenshot will be saved.
3. Window Screenshot
To capture just a specific window:
- Press Alt + Show Windows.
- This method will only capture the active window you’re working in, making it ideal for multitasking users.
How to Screenshot on Chromebook Using External Tools
While Chromebook offers built-in keyboard shortcuts, there are also external tools you can use to take more advanced screenshots or capture screen recordings.
1. Lightshot
Lightshot is a popular tool available on Chrome OS that allows you to:
- Capture specific parts of the screen
- Annotate or edit your screenshots
- Save or share screenshots instantly
To install Lightshot, search for it in the Chrome Web Store and add the extension. Once installed, you can take screenshots using customizable shortcuts.
2. Nimbus Screenshot
Nimbus is another useful tool that not only allows you to take screenshots but also record your screen. It’s particularly useful for users who need more robust editing tools after capturing the screenshot.
Where Are My Screenshots Saved on a Chromebook?
By default, when you take a screenshot on Chromebook, it will be saved in the Downloads folder. You can access your screenshots by following these steps:
- Open the Files app from your launcher.
- Navigate to the Downloads folder to view your saved screenshots.
If you want to change the save location, simply move the screenshots to a different folder or save them to Google Drive for easy access across devices.
How to Edit Screenshots on Chromebook
Once you’ve taken a screenshot, you may need to edit it to highlight certain areas or crop unwanted sections. Chromebooks come with a basic image editor, but there are also other options.
Using the Built-In Editor
- Open the Files app and double-click the screenshot to open it.
- Once open, click on the Edit button (pencil icon) at the bottom.
- You can crop, rotate, and adjust the brightness or contrast of the image.
Using Third-Party Tools
If you need more advanced editing features:
- Pixlr: Available as a Chrome extension or web app, Pixlr offers robust editing tools, including layers, filters, and more.
- Canva: A popular graphic design tool that can be used to edit screenshots and add text, graphics, or elements.
Pro Tips for Chromebook Users: Mastering Screenshots
Keyboard Shortcuts for Quick Access
Memorizing keyboard shortcuts can save you time and make it easier to take screenshots on the go. Here are a few more helpful shortcuts for Chromebook users:
- Ctrl + Shift + P: Opens a Print Preview window, where you can take screenshots and even save them as PDFs.
- Shift + Escape: Useful when you need to quickly exit out of an application after taking a screenshot.
FAQs
1. Can I take a screenshot in tablet mode?
Yes, if you have a 2-in-1 Chromebook that can convert into tablet mode, you can take a screenshot by pressing the Power + Volume Down buttons, similar to how you take screenshots on Android devices.
2. How do I screenshot on a Chromebook without a keyboard?
If your keyboard is not working or you’re using a touchscreen-only Chromebook, you can use the Power + Volume Down buttons or use an extension like Lightshot.
3. Can I screenshot a specific window?
Yes, you can capture a specific window by pressing Alt + Show Windows.
4. How do I share a screenshot?
You can share your screenshot by opening the Files app, right-clicking the screenshot, and selecting the Share option to send it via email, Google Drive, or other methods.
5. What formats are screenshots saved in?
By default, screenshots on Chromebooks are saved as PNG files, which maintain a high resolution and are widely supported across devices.
Conclusion
Taking a screenshot on a Chromebook is easy, thanks to the simple keyboard shortcuts and additional tools available for users. Whether you need to capture the entire screen, a specific window, or a portion of the screen, Chromebook has you covered. By mastering these techniques, you can make your Chromebook experience smoother and more efficient. Don’t forget to experiment with external tools like Lightshot and Nimbus for added functionality!


